How to Seal Diamond Art: Complete Guide with Best Sealers and Tips
Learning how to seal diamond art properly locks every diamond in place and protects your work from dust, moisture, and damage. Use a quality sealant applied evenly, then allow it to cure completely for the best results. Starting with a clean, dry surface ensures the sealant adheres well and keeps your art shining.
Key Takeaways
- Choose a sealant that doesn’t yellow over time to maintain the brightness of your diamond painting.
- Apply sealant either by brush or spray, ensuring full coverage without over-applying to avoid cloudiness.
- Allow your sealer to cure for at least 24 hours before handling or framing your diamond art.
- Use a soft brush dipped about 2 inches into Minwax Polycrylic for smooth, even brush-on application.
- Hold spray sealants 10 to 12 inches from the surface and use light sweeping motions for even coating.
- Wait at least 12 to 24 hours between multiple sealant coats to ensure thorough drying and adhesion.
Why Sealing Diamond Art Is Essential and How It Works
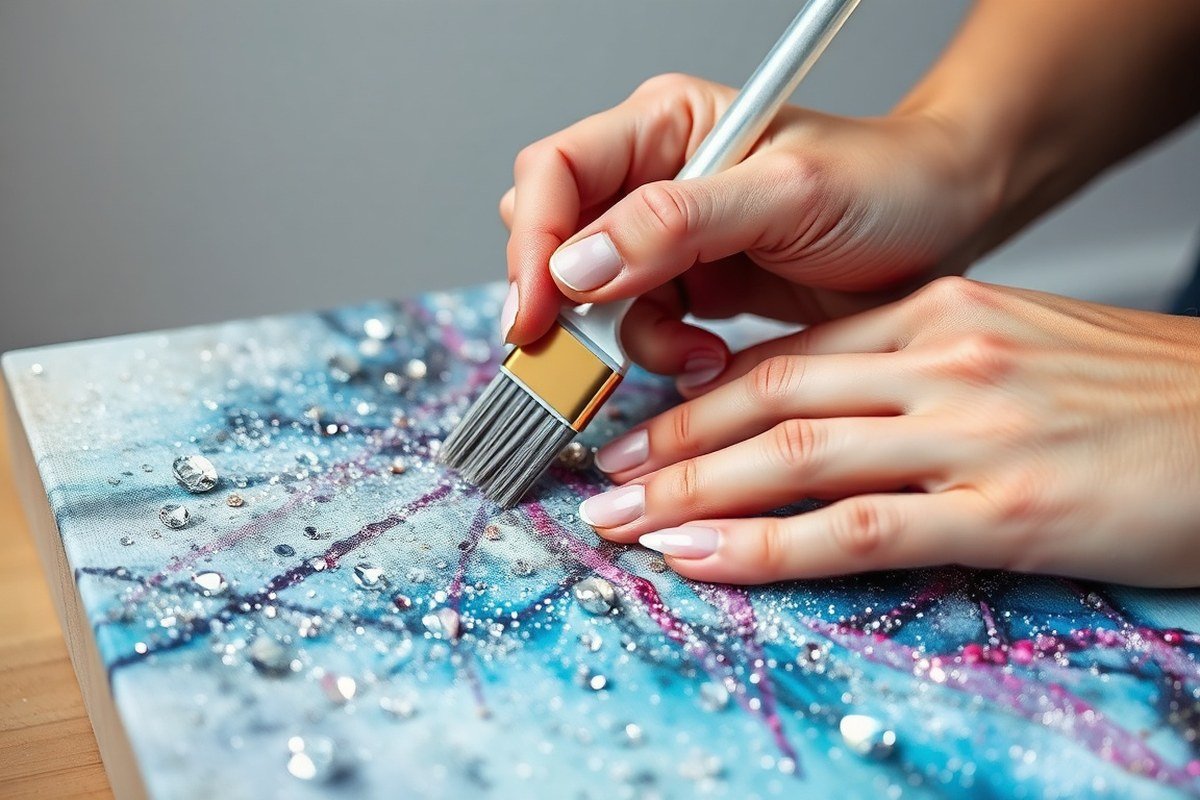
Sealing diamond art means applying a clear protective layer over your finished painting to keep the tiny resin drills securely in place and to guard against dirt and dust. This step helps prevent the diamonds from falling off the canvas, especially if you plan to display or gift your work. It also preserves the sharp, sparkling look of the drills by stopping grime buildup that can dull their shine.
You don’t have to seal every diamond painting, but it’s highly recommended if you want your artwork to last. Unsealed paintings may lose drills or show wear more quickly, especially when handled or exposed to environmental factors. A single coat of sealer takes about 15 minutes to apply and dry, making it a relatively quick way to extend your diamond art’s life by years.
Applying a thin, even coat of a clear acrylic sealer is the best method. Start by pressing all drills firmly into place and cleaning the surface gently. Choose a sealer that is specifically designed for diamond paintings or craft projects to avoid dulling the sparkle. Acrylic sealers come in spray or brush-on forms and generally dry with a glossy finish that improve rather than hides the shine. Working in a well-ventilated room at a moderate temperature helps the coating cure properly and avoid cloudiness.
Good sealing makes your painting feel like a solid, finished piece rather than loose drills on canvas. A poor seal can trap bubbles or create streaks that affect appearance and protection. Some sealers are thicker and may cover too heavily, reducing sparkle, while others dry quickly but might need careful application to avoid uneven areas. Sealing also prevents dust from settling between drills, which means less cleaning and preserved brilliance over time.
Choosing the Right Sealant: Spray vs. Brush-On and Product Comparison
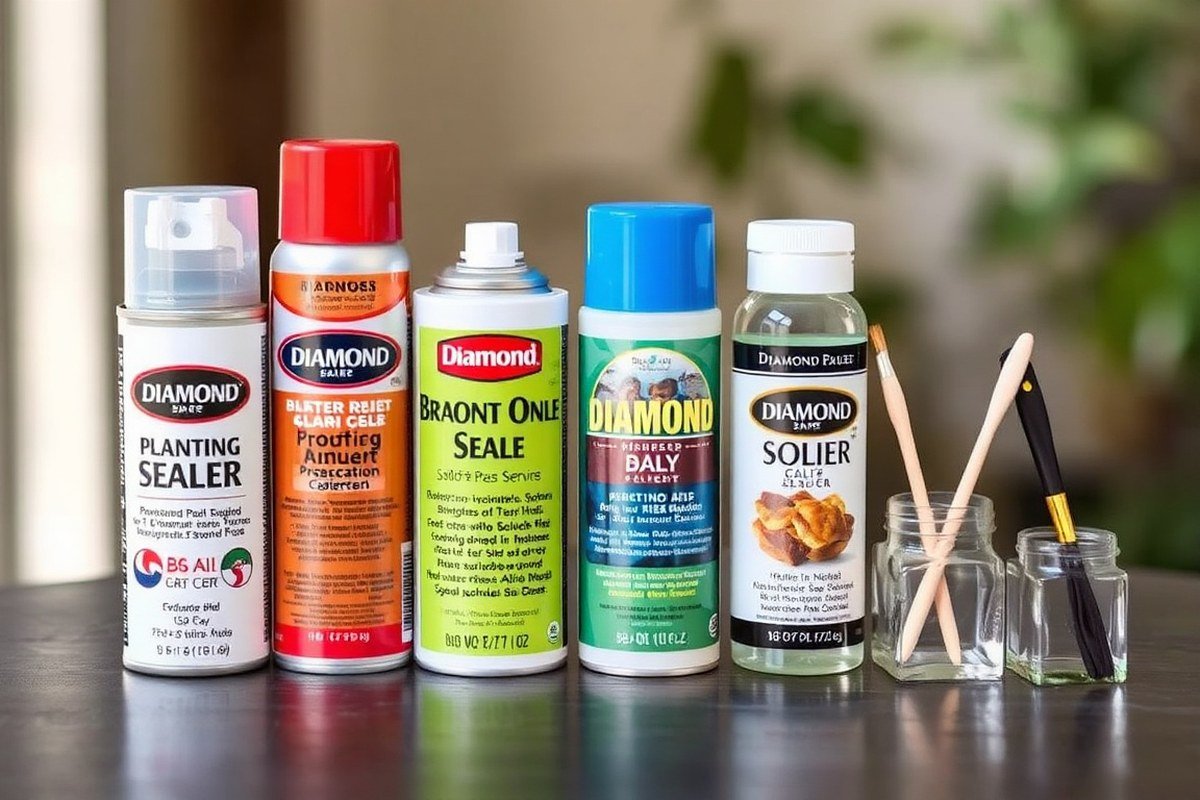
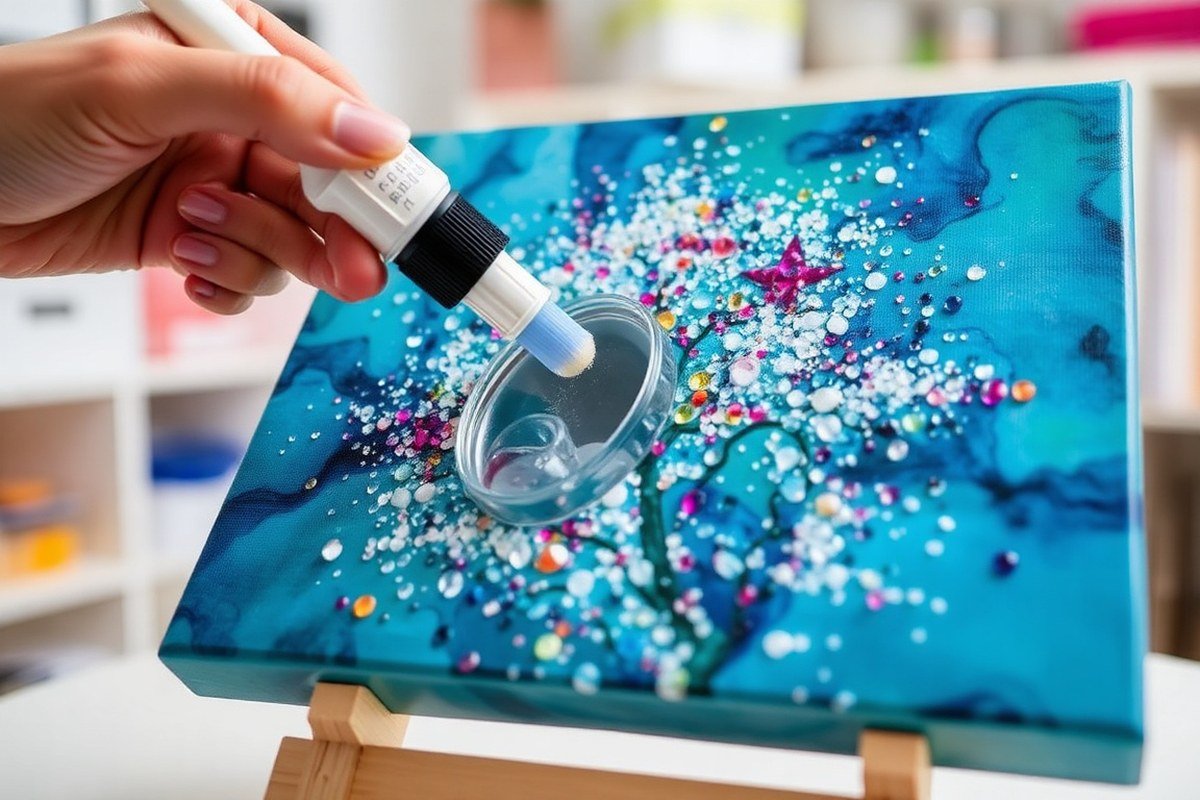
Choosing the right sealant for diamond paintings depends on your needs for protection, ease of use, and finish quality. Brush-on sealants offer the most reliable hold because they penetrate between the diamond drills, securing all edges. They often require two to three thin coats applied with a soft flat brush to avoid clumping or dulling. This method takes more time but prevents diamonds from loosening. A drawback is the risk of disturbing the adhesive if too much pressure is applied during brushing.
Spray sealants provide a quick, even application with minimal contact on the surface. They are convenient and work well for large or complex designs. Applying multiple thin layers, typically 2 to 3 coats spaced about 10 minutes apart, reduces smudging or cracking. Spray sealants may not seep between diamonds thoroughly, leaving some gaps where dust could collect over time. Choose a crystal-clear, non-yellowing spray formulated for acrylic or craft use to avoid damaging adhesives or causing discoloration.
Water-based sealants, available in both brush-on and spray versions, tend to be non-toxic and easier to clean up. They lessen the risk of yellowing and are safer for use around kids and pets. However, their protective strength might be lower than solvent-based sealants, requiring more frequent resealing or gentle handling post-application.
Avoid using household items like hairspray. While it may dry clear, its ingredients are not designed for preservation, can leave flakes or stickiness, and may damage adhesive bonds. Diamond paint kits benefit from specifically formulated craft sealants.
If you live outside the U.S. Where commercial sealants might be scarce, consider ordering water-based acrylic sealants or art varnishes online. Test on a small, hidden section first to ensure no yellowing or damage occurs. Apply sealant sparingly; thickness should be just enough to create a uniform thin coat without pooling. Excessive sealant, especially with brush-on types, can dull the diamond’s sparkle and cause clumping.
Step-By-Step Sealing Process from Prep to Finish
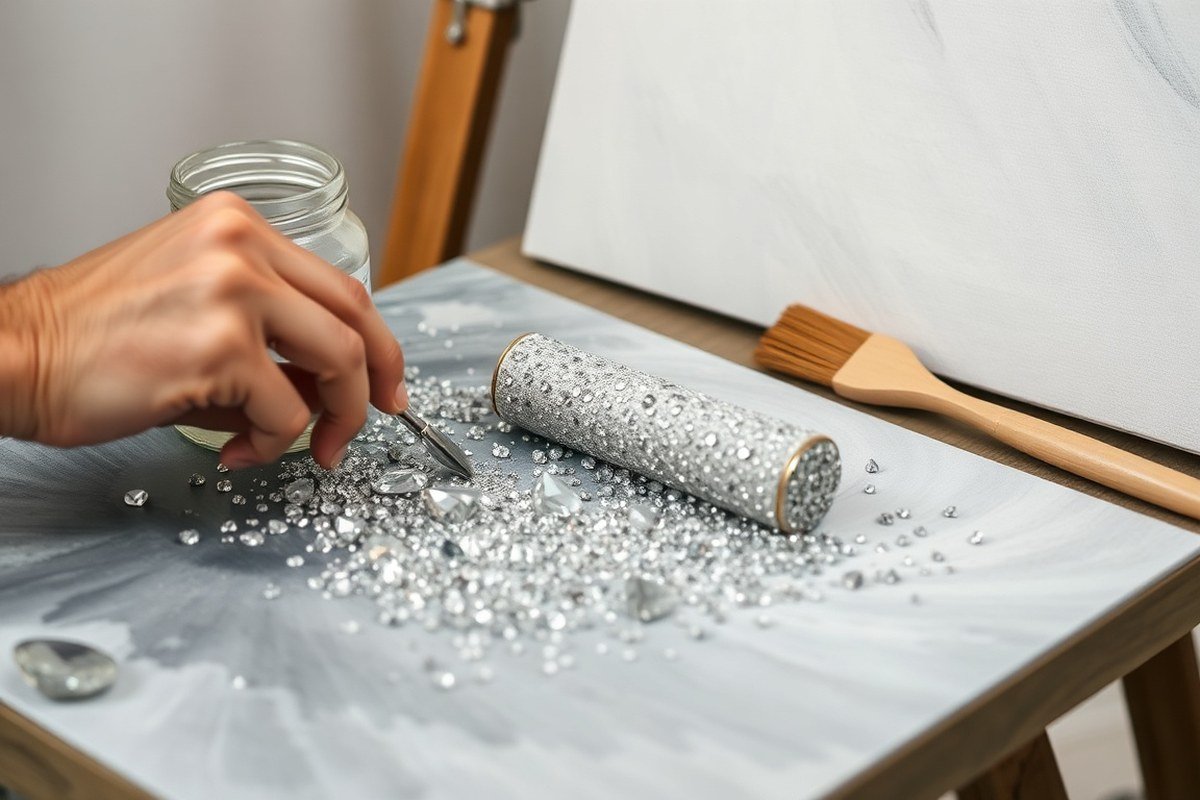
Prepare your diamond painting before sealing by ensuring all diamonds are fully set and the surface is clean. Use a rolling pin or apply gentle weight to press the diamonds firmly into the adhesive. Remove any dust or debris with a soft brush or lint-free cloth to avoid trapping particles under the sealant. Choose a clear acrylic sealer and gather essential tools like a 3/4″ flat craft brush, tweezers for adjusting misplaced diamonds, and a clean workspace to avoid contamination.
Apply the sealant carefully to avoid disturbing the diamonds. Use thin, even coats with horizontal and vertical strokes to cover all diamonds and adhesive areas without pooling. Allow each coat to dry according to the sealer’s instructions before applying the next. Generally, one to two coats provide adequate durability and shine. Drying usually takes a few hours, with full curing up to 24 hours or more depending on the product and room conditions. Frame your diamond painting after sealing and curing to protect the sealant and preserve the artwork.
- Set the diamonds. Use a rolling pin or apply light weight to press all drills firmly onto the adhesive canvas.
- Clean the surface. Remove dust, hair, or loose wax with a soft brush or lint-free cloth.
- Prepare your sealant. Follow the product instructions for mixing or thinning if needed.
- Apply the first coat. Use a 3/4” flat brush with gentle, even strokes, covering the entire diamond and adhesive surface without flooding.
- Let it dry. Wait the recommended drying time, usually 2 to 4 hours, before adding another coat.
- Apply a second coat if desired. This adds durability and a smooth finish but avoid over-application to prevent uneven texture.
- Allow full curing. Wait at least 24 hours or as per instructions before framing or handling extensively.
- Frame after sealing. This protects the sealed surface and keeps the diamonds secure long-term.
Common Sealing Mistakes and How to Fix or Avoid Them
Applying too much sealant is a common mistake that can dull the sparkle of your diamond art. Excess sealant may pool around the drills, creating a cloudy or sticky surface that reduces their shine. To avoid this, apply a thin, even layer with a soft brush or a fine mist spray. Let the first coat dry completely, typically 30 to 60 minutes, before adding a second if needed. This layered approach prevents buildup and keeps the diamonds vibrant.
Lightly disturbing the diamonds while sealing is another frequent error. Pressing too hard with a brush or applying sealant too thickly can shift or loosen the drills. Use gentle, broad strokes and avoid overworking any area. Sealing in a dust-free, well-ventilated environment also helps maintain the integrity of the finished piece.
Uneven coverage results in inconsistent protection, leaving some diamonds exposed and at risk of coming loose. To fix this, inspect your work after the first dry and touch up any missed spots with a small brush dipped lightly in sealant. Consistency prevents cracking and ensures all diamonds are locked in place.
Re-sealing or touching up an old diamond painting is possible if you notice dullness or loose areas after months or years. Before reapplying, clean the surface gently using a soft brush to remove dust and oils. Apply a very thin layer of sealant exactly where needed, allowing it to cure fully between coats. Avoid sealing over previously thick layers to prevent a cloudy effect.
Lastly, avoid touching the diamond surface during and after sealing to prevent oils from your fingers transferring onto the artwork. Such oils can cause smudging or uneven finishes that spoil the sparkle. Wearing latex gloves or handling your painting by the edges keeps the surface pristine throughout the sealing process.
Maintaining Your Sealed Diamond Art for Lasting Shine and Durability
Maintaining your sealed diamond art is essential to keep it sparkling and intact over time. After sealing, avoid exposing your painting to direct sunlight, water, and high humidity, as these conditions can fade colors or weaken the adhesive. Dust your artwork gently using a soft, dry cloth or a small, clean paintbrush to remove particles without scratching the surface. Never use water, cleaning sprays, or abrasive materials, as they can damage the sealant and loosen the diamonds.
Sealing your diamond painting adds a protective layer, which might slightly dull the surface but generally preserves the shine underneath. To minimize any loss of sparkle, apply the sealant evenly and thinly during the sealing process and allow adequate drying time, usually 24 to 48 hours. Proper sealing actually helps maintain your painting’s shine longer by preventing dust buildup and diamond loss.
Store your sealed artwork in a cool, dry place if not displayed, and consider framing it under glass with a mat to add extra protection while ensuring the painting remains visible. Regularly inspect the painting for loose drills or damage, and address any issues promptly to avoid further deterioration. Following these steps prevents common problems like fading, dust accumulation, and diamond displacement, supporting your artwork’s lasting beauty.
Step-by-Step Action Plan for Sealing Your Diamond Art
Follow this plan to protect your diamond art effectively and keep it sparkling for years.
- Immediately after finishing: Clean off dust and loose diamonds gently with a soft brush to prep the surface.
- Within 24 hours: Choose a sealant type that fits your project size and skill, spray for quick coverage or brush-on for precision.
- Day 1: Apply the first thin coat of your chosen sealant evenly, avoiding puddles; wait for it to dry completely (check the product label for drying time).
- Day 2: Apply a second coat if needed, focusing on edges and between diamonds to lock them in securely.
- Day 4: Inspect for any missed spots or bubbles; lightly touch up with a small brush if required.
- After 1 week: Display in a dry, moderate temperature area, avoiding direct sunlight to maintain sealant integrity and diamond color.
- Monthly: Dust gently with a soft, dry cloth to preserve the shine without damaging the seal.
Frequently Asked Questions
Can You Seal Diamond Art Without Dulling the Sparkle?
Yes, use a clear, glossy acrylic sealer to preserve sparkle while sealing your diamond art. This keeps the shine vivid without making the surface look matte or dull.
Is It Safe to Seal Partial Drill Diamond Paintings?
Yes, sealing partial drill diamond paintings works well to protect exposed sections. Just apply sealant carefully to avoid disturbing the loose drills or canvas.
How Soon After Finishing Can I Seal My Diamond Art?
You can seal your diamond art immediately after completing and cleaning the surface. Make sure the canvas and drills are free of dust for best adhesion.
Can You Use Mod Podge to Seal Diamond Coasters?
Mod Podge can be used on diamond coasters but apply a thick, water-resistant type. It protects the drill surface while handling moisture better than standard sealants.
What Is the Best Way to Frame Sealed Diamond Art?
Frame diamond art with a shadow box or deep frame to protect the sealed surface without pressing on the drills. This prevents damage while showcasing your work.
Key Points to Remember
Sealing your diamond art protects your work from damage and preserves its shine, making your craft last longer. Choose the sealant that matches your comfort level and project needs, then apply carefully and follow drying times precisely. Your next step is to pick a sealant today and prepare your workspace for a clean, smooth application.