How Do You Make Prints of Your Art: A Complete Guide with Expert Tips
How do you make prints of your art? The first step is to create a high-quality digital version of your original piece, either by scanning or photographing it under good lighting. Then, adjust your file to the right resolution and colour settings before choosing a suitable printing method that best fits your artwork’s style and size. Start by ensuring your lighting is at about a 45-degree angle to reduce glare and capture true colours, which makes a big difference in the final print quality.
Key Takeaways
- Scan or photograph artwork in high resolution, aiming for at least 600 DPI at full print size for sharp details.
- Adjust files to CMYK colour mode for most printers to ensure accurate colour reproduction.
- Choose printing methods like giclée for fine art prints or inkjet for smaller runs according to your budget and quality needs.
- Invest in quality art paper, as it significantly improve the look and longevity of your prints.
- Prepare digital files by trimming edges and adding bleed if needed for professional print finishing.
- Set appropriate margins, commonly 20%, to avoid unwanted cropping in your print layout.
How to Digitize Your Artwork for Printing
Digitizing your artwork is essential for making high-quality prints, and you can do this by either scanning or photographing your original piece. Scanning works best for artworks up to about 8×10 inches, as most common flatbed scanners accommodate this size. Scanners capture fine detail and produce high-resolution images quickly, usually at 300 to 600 DPI, which suits fine art prints. However, scanning larger pieces requires professional-grade equipment or piecing together multiple scans, which can be time-consuming.
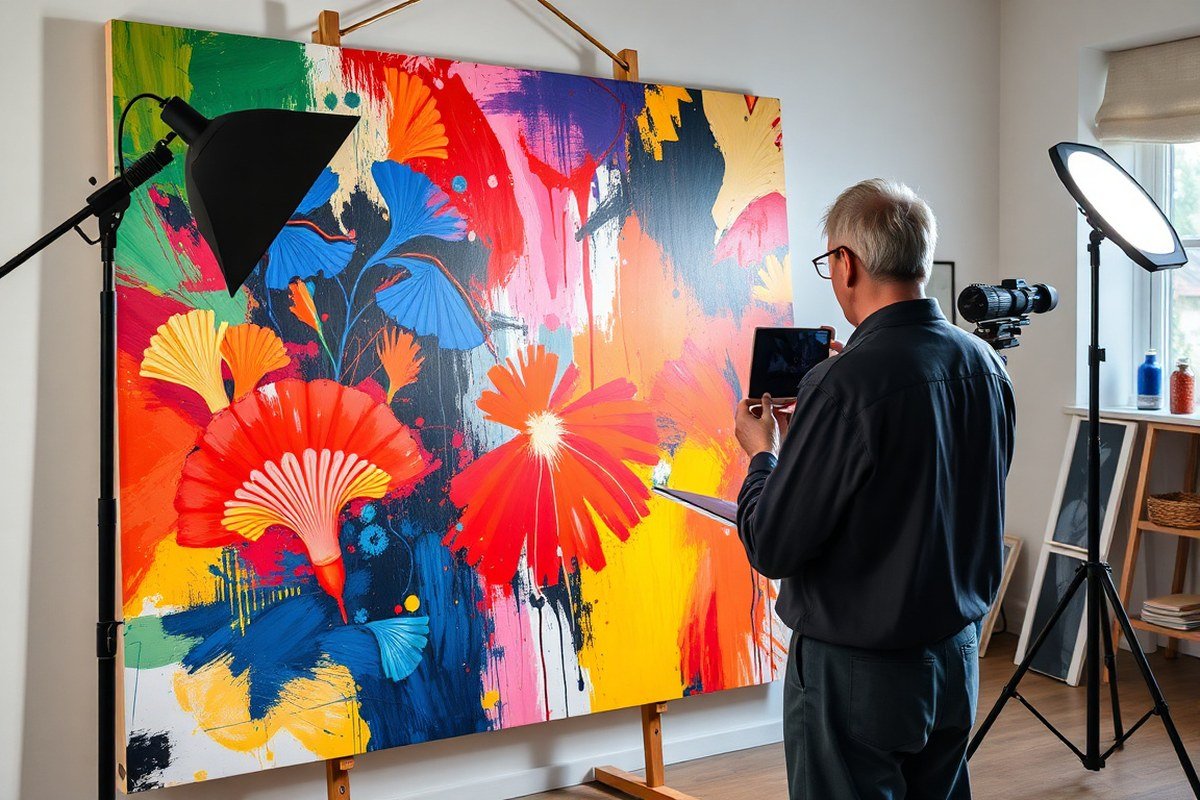
Photography becomes the practical choice for artworks larger than standard scanner beds or for textured pieces with depth. Setting up a professional photo session requires a good digital camera with at least 20 megapixels, a tripod for stability, and consistent, even lighting, preferably daylight-balanced LEDs. Position your artwork on a flat, vertical surface and place the camera directly in front, keeping the lens parallel to the artwork to avoid distortion. Use a remote shutter or timer to prevent shaking. For lighting, arrange two lights at 45-degree angles on either side to eliminate shadows.
Photographing lets you control the image’s appearance and handle large or three-dimensional works, but it usually demands more skill and post-editing. Scanning is simpler and more affordable but limited by size. For example, if your art is small, a scanner is faster and produces a clean file; if the art is large or has texture, photography is better but expect extra setup and editing time.
Here’s a simple checklist to photograph artwork: set your camera on a tripod, align it parallel to the art, use daylight-balanced lighting at 45-degree angles, shoot in RAW for better editing flexibility, and use a low ISO to reduce noise. Scan or photograph at 300, 600 DPI depending on the print size you need, remembering that higher DPI supports larger prints without loss of detail.
Scanning offers low cost and ease for small works but struggles with large or dimensional pieces. Photography provides flexibility and is necessary for bigger art but requires investment in equipment and expertise. Your choice depends on the size and surface of your original piece, your budget, and how much control you want over image quality.
What Resolution and File Settings Are Best for Art Prints?
Set your digital file to a resolution of 300 to 360 DPI (dots per inch) for fine art prints to ensure sharp details and smooth gradients. Choose 300 DPI for typical print sizes up to 16 by 20 inches. Increase to 360 or even 600 DPI if you plan to enlarge your artwork without losing quality or print smaller pieces with very fine detail. For instance, a 12×16-inch print at 300 DPI requires an image size of 3600 by 4800 pixels. Higher DPI values increase file size and processing time but maintain clarity when scaling. This tradeoff matters when working with large prints or limited storage.
Resolution directly affects print size and quality. The digital file’s pixel dimensions determine the largest sharp print you can make. Using a lower DPI means more pixels per inch are lost, resulting in a fuzzy or pixelated print. Conversely, a file with too high a resolution can be cumbersome to handle with minimal visual gain at typical viewing distances. Set your artwork dimensions exactly to your intended print size at your chosen DPI. This avoids distortion and ensures fidelity from screen to print.
Use the sRGB IEC61966-2.1 color profile for your files, as it is the industry standard for online and inkjet printing. This profile offers a good color gamut compatible with most printers and viewing devices. Converting your digital file to this profile before printing helps maintain consistent colors between your screen and finished print. Avoid relying on default printer profiles, which may not accurately represent your artwork’s hues.
Save your file in a lossless format such as TIFF or a high-quality PDF to preserve image integrity. JPEG files can be acceptable if saved at maximum quality but often introduce compression artifacts. Check that your file dimensions match your print size multiplied by the DPI (width in inches × DPI = pixel width). This checklist ensures your digital art is print-ready: correct DPI (300, 360), artwork sized to final print dimensions, sRGB color profile applied, and file saved in TIFF or high-quality PDF format.
Choosing the Right Printing Method and Printer for Your Art
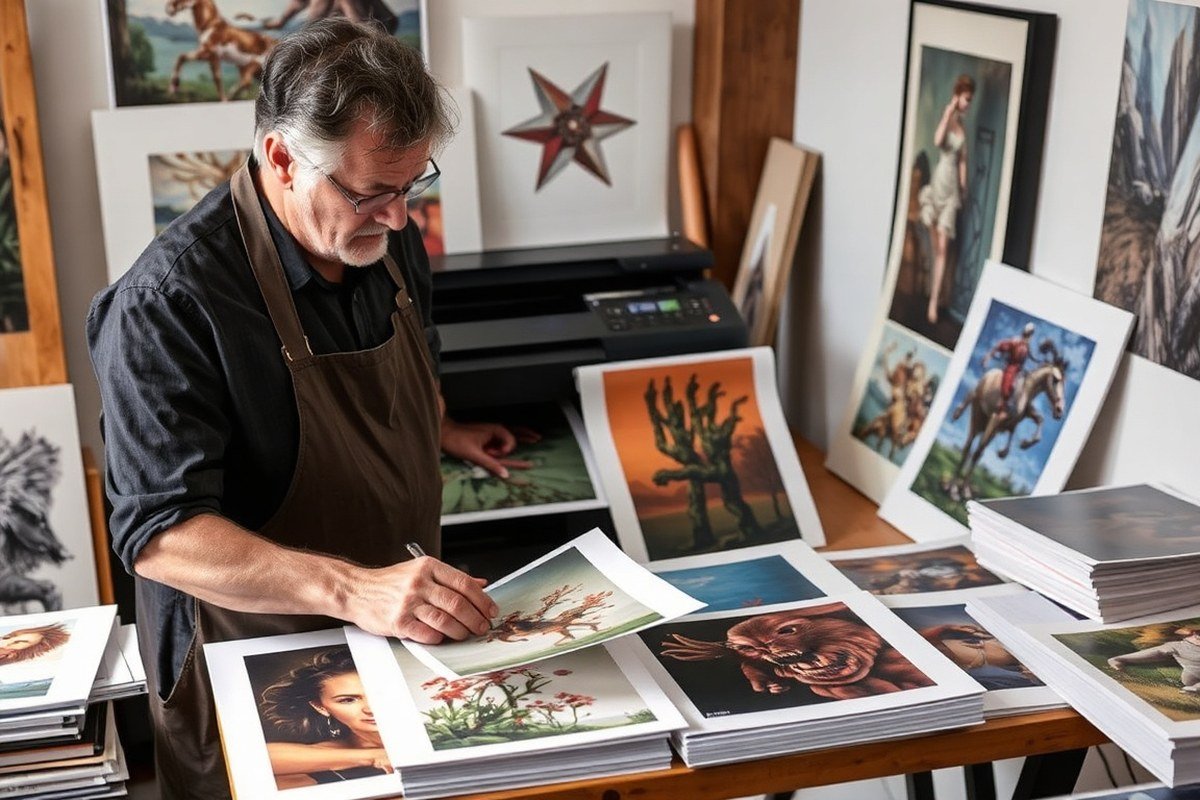
Giclée printing is a top choice for artists seeking high-quality reproductions. It uses pigment-based inks and high-resolution inkjet printers to deliver rich colors and fine detail, making it ideal for gallery-quality art prints. This method tends to be more expensive, often ranging from $20 to $100 or more per print depending on size and paper, but it offers excellent longevity and color fidelity.
Inkjet printers at home can also produce good results if they use pigment-based inks and quality paper. While the upfront cost of an inkjet printer suitable for art prints might be $300 to $1,000 or higher, it gives you full control over color adjustments and reprinting on demand. Home printing is cost-effective for small runs or test prints, but quality varies based on your printer and materials.
Laser printers use toner instead of ink and produce prints faster and cheaper, usually under $1 per page. However, they typically lack the subtlety and color range needed for fine art reproductions, so they are less suitable for selling prints aimed at collectors or galleries.
UV printing uses ultraviolet light to cure ink instantly on various surfaces, often used for printing on non-paper materials like canvas or wood. This method offers durability and a unique texture but can be costly and less accessible for artists starting out.
Print on Demand (POD) services provide a convenient option without upfront inventory. You upload your digital files following their specifications, and the service handles printing, packaging, and shipping when customers order. POD typically uses high-quality inkjet or giclée printers and charges per print plus a percentage of sales. This model reduces your financial risk, but you have less control over materials and fulfillment speed. Some well-known POD platforms specialize in art prints and require specific file formats and resolutions.
Choosing between home printing and print services depends on your budget, volume, and quality expectations. Home printing offers immediate control and is best for testing or very limited editions. Print services and POD are better for larger runs, professional quality, and focusing on sales without managing production. For example, you might print sample copies at home to check colors, then order a giclée run from a print service to sell. Balancing cost, quality, and convenience will guide you to the right method for your art.
Selecting Paper and Materials to improve Your Art Prints
Choosing the right paper or material is essential to making prints of your art that capture color, detail, and texture accurately while lasting over time. Cotton rag and archival papers are top choices for fine art prints because they offer excellent tone, texture, and longevity. For example, G.F Smith cotton paper is popular among artists for its soft texture and durability, made from recycled cotton t-shirts. This paper works well for drawings and watercolors where a matte finish and fine mark reproduction matter most. These papers are usually acid-free and heavy enough to resist warping, supporting pigment-based inks that keep your prints vibrant for decades.
Paper finish plays a key role in how your art appears. Matte papers reduce glare and can deepen dark colors and subtle details, making delicate line work stand out. Glossy papers improve color saturation and contrast but may reflect light, which can obscure fine details depending on viewing angle. Canvas offers a textured surface with a tactile feel suitable for painterly or bold graphic styles, but it absorbs ink differently than paper, softening lines and colors somewhat. Canvas prints typically cost more and may require specialized printers designed for thicker substrates.
Matching your Paper or canvas to your art style and printing method depends on what you want to highlight. Use smooth matte paper for intricate ink or pencil work to preserve fine lines. Opt for glossy paper if your art has vibrant colors and you want punchy contrast. Canvas suits larger, painterly pieces where texture complements the image. Confirm that your printer supports the chosen substrate’s weight and finish to avoid quality issues. Budget between $2 to $10 per print for fine art paper runs and up to $20 or more for canvas prints, considering edition size and print dimensions.
How to Prepare Your Digital File for Professional Printing
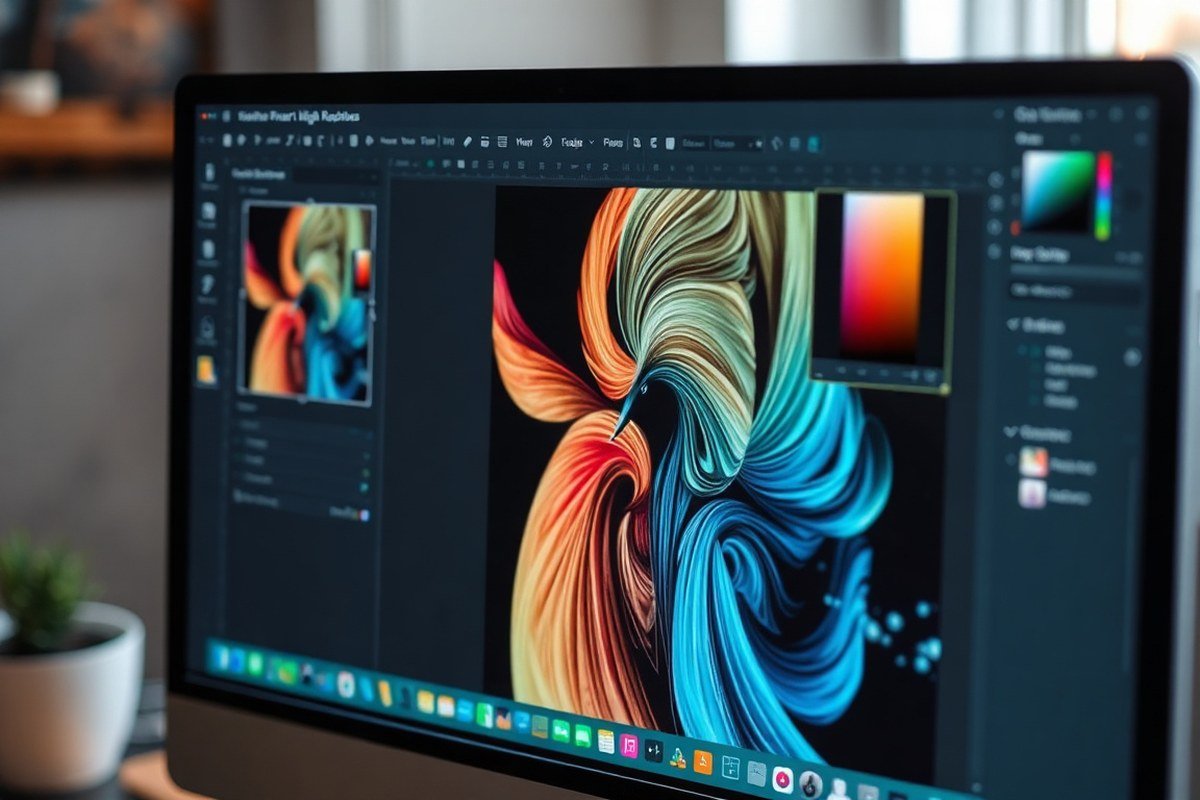
Start by opening your digital artwork in a photo editing or graphic design program that supports high-resolution editing, such as Adobe Photoshop or Affinity Photo. The first step is to crop the edges of your image, removing any unwanted borders or stray marks. Use the crop tool to frame the artwork tightly or add space if you want a white border on the final print. Maintaining the aspect ratio while cropping ensures the proportions remain correct.
Next, perform color correction to match your original art as closely as possible. Adjust brightness, contrast, and saturation carefully to avoid changing the artwork’s intent. Use a calibrated monitor to see accurate colors and consider soft-proofing your file if the software supports it. This previews how prints may appear on the intended paper and printer.
Check that the file resolution is at least 300 pixels per inch (PPI) at the desired print dimensions; this prevents pixelation and loss of detail. For example, if you want an 8-by-10-inch print, the image should be at least 2400 by 3000 pixels. Resample the image if necessary, but avoid enlarging beyond the original resolution to maintain sharpness.
Set the file size to match your print dimensions plus bleed and margin areas. Bleed usually adds 0.125 to 0.25 inches around each edge and is essential for designs that print to the edge without white borders. Include crop marks in your file exports to indicate where the paper should be trimmed. In Adobe Photoshop, this option is under “Print Settings” or when exporting as a PDF under “Marks and Bleeds.”
Export your final file as a high-quality PDF or TIFF, formats preferred by professional printers for maintaining color fidelity and resolution. Check that your document is in the CMYK color mode if the printer requires it, as RGB can shift colors during printing. Include embedded color profiles compatible with your printer’s setup.
For example, export an 11-by-14-inch print at 300 PPI with a 0.25-inch bleed on all sides. Set the canvas size to 11.5 by 14.5 inches and enable crop marks. Save the file as a PDF with CMYK colors and embedded profiles. This ensures the printer sees exactly how to trim and reproduce your artwork with accurate colors and crisp edges.
Finishing Techniques and Handling Post-Print Options
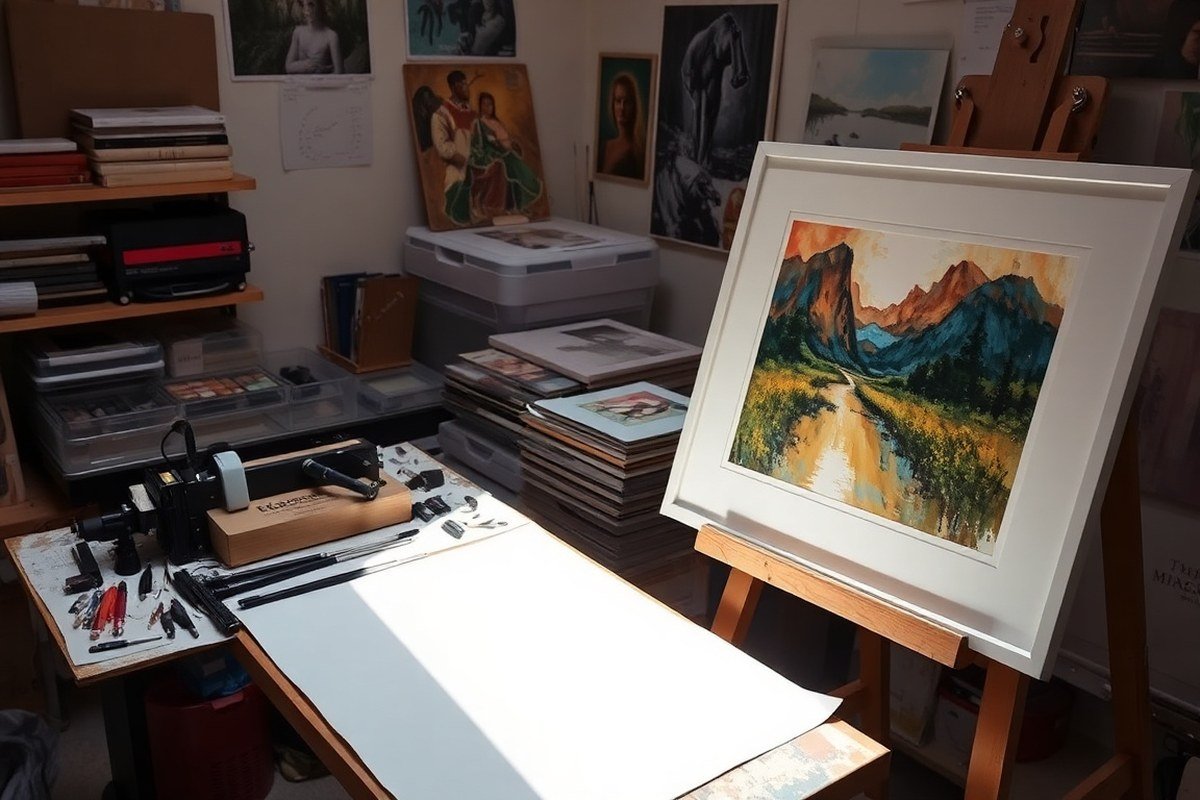
Trimming your prints cleanly is essential to make them look professional and ready for display. Use a metal ruler and a sharp craft knife or rotary cutter on a cutting mat to avoid ragged edges. Measure carefully and score lightly before making the final cut to keep lines straight. For standard sizes like 8″x10″ or 11″x14″, trimming down to these dimensions creates consistency if selling multiple prints. Avoid trimming too close to the ink, leaving a small border of about 1/8 inch to prevent cutting into the image or losing detail.
Mounting can protect your prints and improve presentation. Foam core boards or mat boards provide rigid backing, preventing curling and warping. Attach the print with acid-free tape or photo corners so the adhesive doesn’t damage the paper over time. Foam core typically costs around $10 to $20 per board in common sizes, making it a cost-effective display option. For a polished look, using a mat improve the art by creating space between the print and the glass in a frame.
Framing depends on the style and durability you want. Simple metal or wood frames are widely available for $20 to $50 and are sufficient for most art prints under glass or acrylic. Consider UV-protective glass if prints will be exposed to sunlight to reduce fading. Make sure the frame size matches your print plus any matting. For valuable or limited-edition prints, professional framing provides archival-quality materials but can cost over $100.
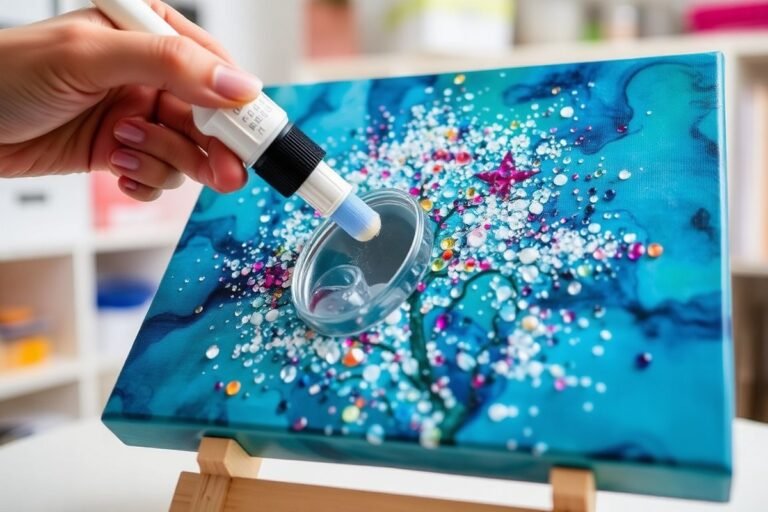
Protective finishes like varnishes or spray sealants add another layer of defense, especially for prints made with inks prone to smudging. Water-based varnishes suit inkjet prints and dry quickly without yellowing. Before applying, test on a corner or spare print. Hold the spray about 12 to 18 inches away and apply thin, even coats, allowing 15 to 30 minutes drying time between layers. Avoid gloss finishes if you want to minimize glare, opting instead for matte or satin sprays. Protective coatings extend the life of your prints but remember they cannot replace handling care and proper storage.
How to Sell Your Art Prints Successfully
Pricing your art prints correctly depends on multiple factors, including your costs, target market, and brand positioning. Start by calculating the total cost per print, including materials, printing, packaging, and fees if selling through a platform. Add a profit margin that reflects your experience and demand; many artists price prints at two to three times their costs. Consider offering different sizes or editions to reach various buyers while maintaining exclusivity for limited runs. Keeping prices competitive but valuing your work builds trust and repeat business.
Choosing where to sell affects your reach and convenience. Local art fairs and galleries let you meet buyers face-to-face and retain full control but usually involve upfront costs and time commitments. Online marketplaces like Saatchi Art or Etsy provide access to broad audiences and handle transactions but charge commissions or listing fees. Your own website supports brand building but requires marketing efforts to drive traffic. Print-on-demand services like Printify and Printful eliminate inventory and upfront costs by printing and shipping after each sale. They let you focus on marketing while offering high-quality prints at lower price points, ideal when starting or testing new designs.
Marketing and packaging improve sales potential. Promote your prints visually on social media with clear images and stories behind the work. Use direct links to your sales pages and consider email newsletters to build a fan base. Wrap prints in protective materials like acid-free tissue and sturdy mailers to ensure quality on arrival, boosting customer satisfaction and reviews. Offer limited editions or signed copies to increase perceived value. A solid combination of pricing strategy, sales platform choice, and promotion forms the foundation for selling your art prints successfully.
Step-by-Step Action Plan to Make Your Art Prints
Follow these steps to turn your artwork into quality prints ready to sell or display. Each phase confirms your progress with a clear check.
- Day 1: Digitize your artwork using a high-resolution scanner or camera. Confirm the digital file is clear and colors look true to the original.
- Day 2: Adjust your file’s resolution to at least 300 dpi and set the color profile to sRGB or Adobe RGB. Check that the file size matches print quality requirements.
- Day 3: Choose a printing method and printer that suit your art style and budget, such as giclee or pigment inkjet. Obtain a test print to verify output quality.
- Day 4: Select the right paper or print material that complements your art’s texture and color depth. Handle samples to assess weight and finish.
- Day 5: Prepare your digital file with cropping, bleed, and color proofing. Upload or deliver the correctly formatted file to your printer and get a proof.
- Day 6: Choose finishing touches like laminating or varnishing after your prints are made. Inspect a finished print for durability and appearance.
- Week 2: List your prints for sale on appropriate platforms with good photos and descriptions. Track sales and feedback to gauge customer response.
Frequently Asked Questions
How Do Painters Make Prints?
Painters usually digitize their artwork by photographing or scanning it, then print using inkjet or giclée printers for high-quality reproductions. This ensures the prints closely match the original colors and details.
What Is the 80/20 Rule in Art?
The 80/20 rule suggests that 80% of your art sales come from 20% of your prints, meaning focus on your best-selling prints for efficient sales. It helps artists prioritize which prints to produce more often.
What Is the Best Printer for Printing Art at Home?
The best home printer is a high-quality inkjet printer designed for photo or fine art printing, offering good color accuracy. These printers let you control print settings to get vibrant and detailed prints.
What Kind of Art Prints Sell the Most?
Art prints featuring popular themes like nature, abstracts, or portraits tend to sell well because they appeal to broad audiences. Understanding your target market’s preferences helps you choose which prints to produce.
Can I Use My Phone Camera to Make Art Prints?
Yes, a good phone camera can work if you ensure proper lighting and use a steady hand for clear images. The quality depends on how well you capture the artwork and post-edit the photo.
Final Thoughts
Creating high-quality prints of your artwork takes careful preparation at every stage, from digitization to final sale. Start by confirming your digital files meet professional standards before moving forward with your printing choice. Take the next step by ordering a test print to see your artwork’s transformation firsthand and adjust as needed for your perfect print.