How to Make Pixel Art in Procreate: A Complete Guide with Pro Tips
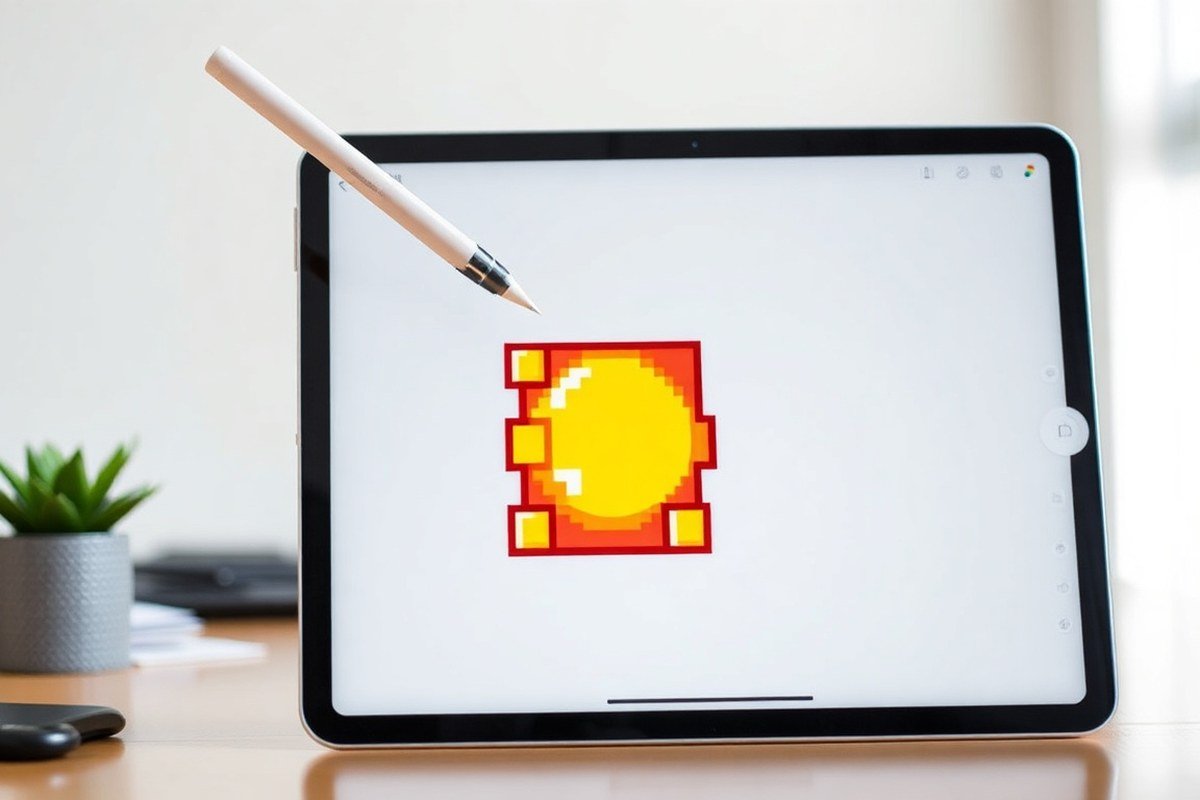
Creating pixel art in Procreate begins by choosing a small canvas, such as 100×100 pixels, and setting the background to transparent. Select a 1-pixel hard-edged brush to ensure sharp lines. Modify the brush so each mark places a consistent single pixel. Work closely by zooming in, and keep the Reference window open to see the artwork at its actual size.
Key Takeaways
- Set your canvas size to about 100×100 pixels to match typical pixel art resolutions.
- Choose a hard-edged brush at 1-pixel size for precise pixel placement.
- Adjust Stroke Path spacing to 100% for one pixel per tap in Procreate.
- Disable Apple Pencil pressure size variation by setting Pressure → Size to 0%.
- Use Procreate’s 800% zoom and Reference window for detailed work and overall view.
- Disable brush features like Charge and set Pull to 50% for clean strokes.
Set Up Your Canvas and Grid for Pixel Art
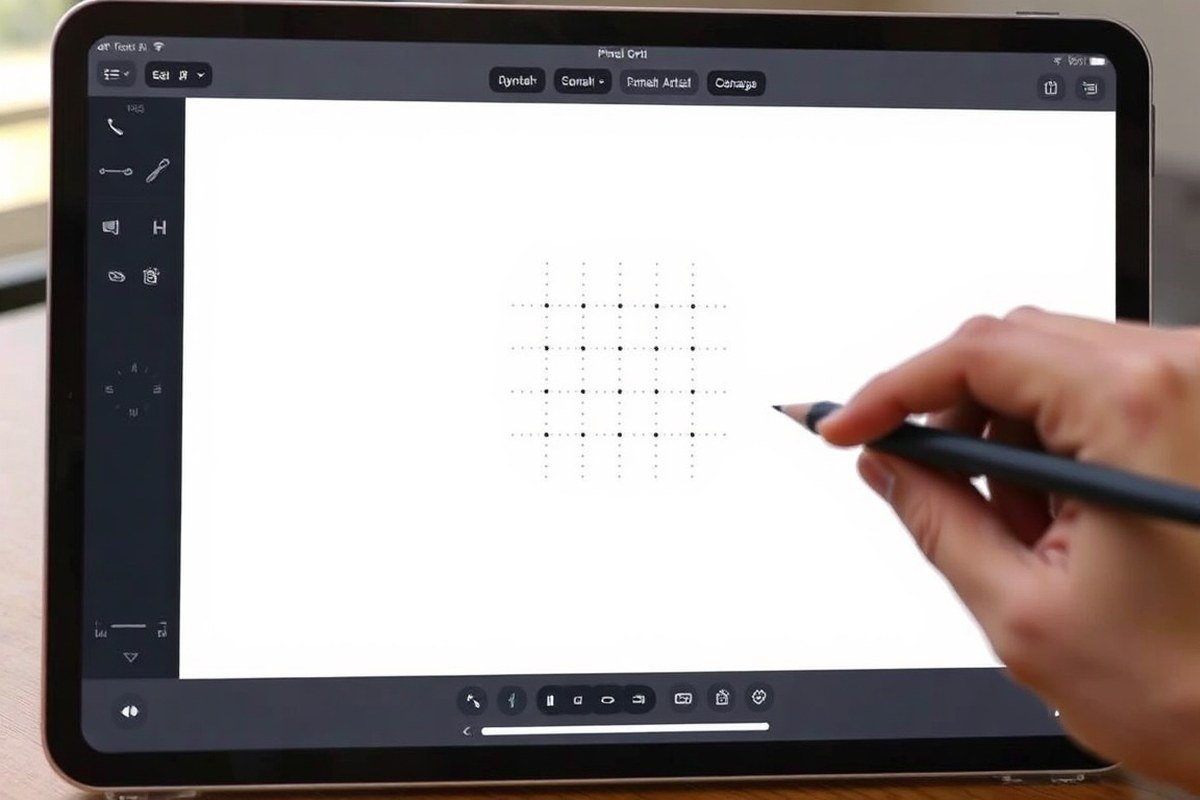
Optimal canvas size matters for pixel art because it influences detail, scale, and ease of editing. Start with a small canvas around 100×100 pixels for character sprites or icons. Larger sizes like 320×180 pixels or 640×360 pixels suit background scenes where more detail and wider scope are needed. Small canvases keep your work manageable and pixel-perfect, while larger ones allow complexity but require zooming to place pixels accurately.
Using a Transparent background ensures your art can layer cleanly in animations or game environments. Transparent canvases avoid unwanted solid colors and save time when exporting sprites. Enabling a 1-pixel grid line in Procreate’s Drawing Guide helps you snap to exact pixels and avoid blur or anti-aliasing issues.
| Canvas Size (pixels) | Common Use | Zoom Recommended |
|---|---|---|
| 32×32 | Basic icons, small sprites | Yes |
| 100×100 | Character sprites, detailed icons | Yes |
| 320×180 | Simple backgrounds, scenes | Yes |
| 640×360 | Complex backgrounds | Yes |
Follow these steps to set up your canvas and grid in Procreate:
- Create a new canvas by tapping the “+” icon in the Gallery and selecting “Custom Size.”
- Enter the canvas dimensions appropriate for your project, such as 100×100 pixels for sprites or 320×180 for backgrounds.
- Set the background to transparent by selecting “Background color” under the canvas settings and tapping the “None” (checkerboard) option.
- Open Actions menu (wrench icon), then tap “Canvas” and turn on “Drawing Guide.”
- Open the Drawing Guide menu, pick “2D Grid,” then adjust the grid size to 1 pixel to place pixels precisely.
- Adjust grid opacity and thickness if needed to improve visibility without distraction.
- Turn on “Drawing Assist” under the Actions menu if you want your brush strokes to snap precisely to the grid lines.
- Zoom in closely by pinching the screen to see individual pixels clearly when you begin drawing.
Create or Customize Your Pixel Brush Correctly
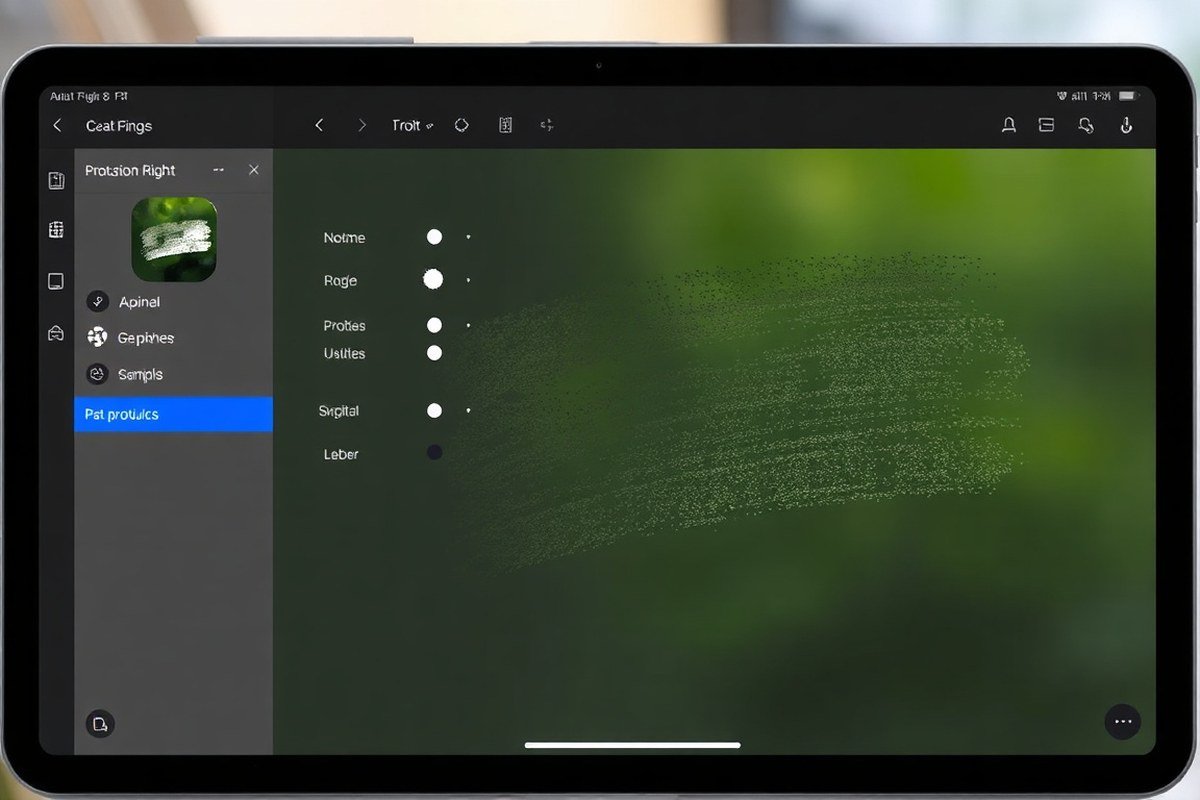
Creating a pixel-perfect brush in Procreate requires setting up a brush that produces sharp, blocky strokes without any blur or smoothing. You want to keep the size fixed, usually at 1 pixel wide, and disable pressure sensitivity to avoid variations in stroke thickness. While Procreate’s default brushes are not optimized for pixel art, they can be customized or replaced with third-party pixel brush sets that are ready to use and save time.
To build your own pixel brush from scratch or convert an existing one, focus on the brush size, spacing, opacity, and streamline settings. Smaller spacing ensures pixels connect to form solid lines, and disabling pressure control keeps each stroke consistent. Opacity should be set to 100% for clear, crisp pixels. Some adjustments in the Wet Mix and Shape Source sections help maintain pixel sharpness. Follow these steps to create a simple 1-pixel pixel brush in Procreate Brush Studio:
- Open the Brush Library and tap the + icon to create a new brush.
- Select ‘Shape’ and choose or import a 1×1 pixel shape to define your brush tip.
- Set ‘Spacing’ to 0% in the Stroke Path menu so pixels appear joined with no gaps.
- Adjust ‘Size’ to the smallest value that equals one pixel on your canvas (usually 1 px).
- Disable pressure sensitivity for Size and Opacity to keep consistent pixel strokes.
- Set Opacity to 100% and disable ‘Opacity Jitter’ in the Dynamics menu.
- Turn off Streamline or any smoothing options to retain hard edges.
- Test your brush on the Drawing Pad and tweak as needed for sharp, blocky strokes.
Importing pixel brush packs from reputable artists can shortcut the process if you prefer to work immediately with brushes optimized for clean pixel art. This saves setup time and often includes variation brushes for dithering and texturing within Procreate.
Work Efficiently with Zoom, Reference, and Color Palettes
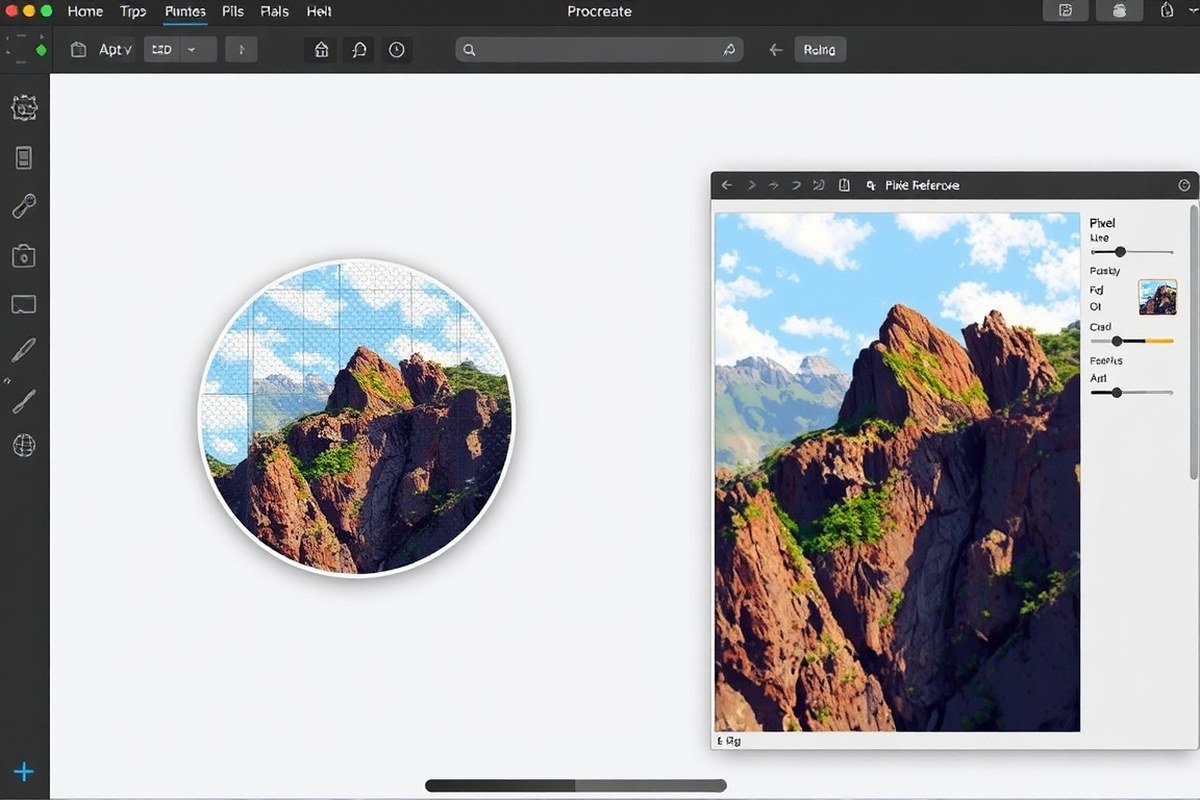
Maintaining pixel precision is key when working on pixel art in Procreate. Zoom in to around 800%, which lets you edit each pixel without distortion. Avoid zooming above this unless printing, as higher zoom can blur edges or cause misclicks. Use two fingers to pan gently across the canvas rather than dragging with one finger to prevent shifting your pixel placement. This technique keeps each pixel crisp and blocks consistent.
The Reference window is a small companion view that shows your entire canvas at actual size while you paint zoomed in. To enable it, tap the wrench icon, open the Canvas menu, and turn on “Reference.” Position it conveniently so you can track your overall composition without zooming out. This helps you catch alignment or color continuity errors early, especially useful on small sprites or detailed scenes.
Bringing in or making Color palettes in Procreate helps you work faster on pixel art. Open the Palettes panel and tap the + button, then choose “New from File” or “New from Photo” to import palettes saved as PNG files. Aim to keep your palette between 4 and 32 colors for a cohesive appearance. Use a background layer with either transparency or a solid color that stands out. For exporting, pick the SRGB IEC61966-2.1 color profile when sharing online or across different platforms, and select Display P3 if your art will be mainly seen on Apple devices. Good palette management prevents color changes during export and keeps your style steady.
Export Pixel Art Correctly Without Quality Loss
Exporting pixel art from Procreate without quality loss requires careful attention to file formats and settings that preserve crisp edges, transparency, and accurate colors. Choosing the right export options ensures your pixel art stays sharp and true to your original design, which is especially important for game assets or animations. PNG is the preferred file format because it supports lossless compression and transparency, unlike JPEG which can blur edges and discard alpha channels.
To keep backgrounds transparent, always export your work with the alpha channel intact by selecting PNG with transparency enabled. Avoid formats like JPEG or TIFF that don’t support transparency or may add unwanted smoothing. Disabling any export anti-aliasing or smoothing settings prevents your pixel art from becoming blurry. Maintaining the original canvas resolution without scaling ensures pixel-perfect clarity.
Regarding color profiles, use sRGB for web projects and game assets since it is widely supported across browsers and devices. For Apple platforms like iOS or macOS, choosing the Display P3 profile can give you richer colors, but confirm your target environment supports it to avoid color shifts. Saving with the proper color profile keeps your pixel art consistent across different devices. Follow these steps to export pixel art correctly:
- Finish your artwork at the intended resolution, don’t resize your canvas before export to preserve pixel crispness.
- Tap the wrench icon to open the Actions menu, then select “Share.”
- Choose PNG format to preserve transparency and color fidelity.
- Ensure transparency is enabled in the export settings to keep backgrounds clear.
- Set color profile to sRGB for web use or Display P3 if targeting Apple devices specifically.
- Export without applying any smoothing or anti-aliasing options to preserve sharp pixel edges.
- Save your file with descriptive names, including version numbers if creating multiple frames or iterations for game or animation use.
- Store exported files in organized folders tailored for your project structure, helping keep assets accessible and ready to import into game engines or other software.
Avoid Common Pixel Art Mistakes and Improve Workflow
Pixel art mistakes often start with brush settings in Procreate. Using a brush with anti-aliasing or soft edges blurs pixel outlines, which ruins the sharp, blocky look you want. Fix this by creating or customizing a brush with 100% hardness and turning off any smoothing. Set the brush size to whole pixels, 1 px or multiples, to keep uniform pixel sizes across your strokes. Procreate doesn’t snap brush strokes to the pixel grid by default, so work at a high zoom level (800% or more) to place pixels precisely one by one.
Keeping pixel sizes uniform means resisting the urge to draw freehand at low zoom. Use the single-pixel brush you saved in the Pixel Art set of your Brushes panel. When you erase or draw, zoom in close and click one pixel at a time instead of dragging. This prevents uneven pixel clusters and preserves the pixel art style’s clarity.
For better Workflow efficiency, organize layers carefully, use separate layers for outlines, colors, and shading. Lock transparency on color layers to paint only inside colored areas without affecting outlines. Turn on Procreate’s QuickShape feature to draw perfect squares and straight lines, useful for pixel art grids. Zoom constantly and pan often to work on details without losing view of the whole image.
Animation Assist in Procreate lets you create pixel art sprites with simple frame-by-frame animation. Enable it from Actions → Canvas → Animation Assist to see a timeline at the bottom. Add frames by tapping +, and use onion skinning to see previous frames faintly, which helps keep motion smooth and consistent. After finishing, export your animation as a GIF via Actions → Share → Animated GIF. For a polished workflow, use external tools like Sorceress True Pixel to lock palettes and optimize frame export at 30 fps, but Procreate covers basic animation well.
Step-by-Step Action Plan to Start Creating Pixel Art in Procreate
Follow this simple plan to get your pixel art project underway using Procreate with confidence and good results.
- Before you start: Set up your canvas to a square size like 64×64 or 128×128 pixels and enable a 1-pixel grid. Check the grid lines align perfectly for clean pixel placement.
- Day 1: Create or download a pixel brush with hard edges and a 1-pixel size. Test the brush by drawing a simple shape and zoom in; pixels should not blur or merge.
- After setup: Organize your color palette with a limited set of colors (8 to 16). Try painting with your palette to see if the colors contrast well and fit your style.
- Day 2: Start with rough sketches using the pixel brush at maximum zoom. Confirm your strokes snap to your grid and details stay sharp before progressing.
- Mid-project: Use duplicate layers and references side by side. This helps maintain proportions and color consistency. Review your pixels at 100% and 400% zoom.
- Near completion: Export your artwork as a PNG with no resizing. Open it in another app or on your computer to verify pixels remain crisp and edges sharp.
- Final step: Share your pixel art online or save it for animation. Keep your Procreate file organized with named layers in case you want edits later.
Frequently Asked Questions
Can I Animate Pixel Art Directly in Procreate?
Procreate supports basic animation through its Animation Assist feature, letting you create frame-by-frame pixel art animations. However, it’s limited compared to dedicated animation software, so keep animations simple for best results.
How Do I Keep Colors Consistent While Making Pixel Art in Procreate?
Use the color palette tool to save and reuse specific colors. This helps maintain a coherent color scheme throughout your pixel art piece without manually selecting colors again.
What Layer Settings Work Best for Pixel Art in Procreate?
Keep your pixel art on regular layers without blending modes to avoid color distortion. Use separate layers for different parts of your design for easy editing and cleaner pixel placement.
Can I Use Procreate’s Selection Tools for Pixel Art Editing?
Yes, the selection and transform tools can help you move and adjust pixel clusters precisely. Use the Freehand or Rectangle selection modes to control specific pixel areas without blurring edges.
How Do I Fix Jagged Lines or Inconsistent Pixels in Procreate?
Zoom in to pixel level and use the pixel brush to manually fix jagged lines. Avoid using smoothing features to keep pixel edges sharp and maintain the crisp pixel look.
Before You Go
Choosing the right canvas size, brush, and color scheme makes all the difference in authentic pixel art in Procreate. Focus on setting up properly and working with the pixel grid to avoid blurring and maintain crisp edges. Try exporting early to see the true quality of your art outside Procreate. Start your first small piece today and build your skills one pixel at a time.