How to Wrap Canvas Art Safely: Complete Steps and Material Guide
Knowing how to wrap canvas art properly prevents damage during transport and storage. Start by covering the painting’s surface and edges with protective materials like foam or bubble wrap. Secure the wrap tightly without stretching the canvas to keep your artwork safe and ready for shipping.
Key Takeaways
- Use foam wrap around the canvas edges to protect corners from dents and punctures.
- Wrap with at least 1 inch of padding material around the entire canvas for shock absorption.
- For oil paintings, wait at least six months for full curing before wrapping and shipping.
- Choose rigid cardboard sheets slightly larger than the wrapped canvas to shield the flat surface.
- Secure the wrapped canvas with tape applied in layers, avoiding direct contact with the paint.
- When shipping small canvases under 24 inches, a sturdy cardboard box usually suffices.
How to Wrap Canvas Art for Protection and Shipping
Wrapping your canvas art carefully protects it from dents, scratches, and moisture during shipping or storage. Using the right materials and following a clear sequence helps preserve the painting’s surface and edges, preventing damage from bumps or pressure. Before wrapping, gather acid-free tissue paper or glassine, foam wrap for edges, bubble wrap, painter’s tape, and two pieces of cardboard slightly larger than your canvas.
- Lay your canvas face down on a clean, flat surface. This keeps the painted side safe from direct contact or accidental smudging during the wrapping process.
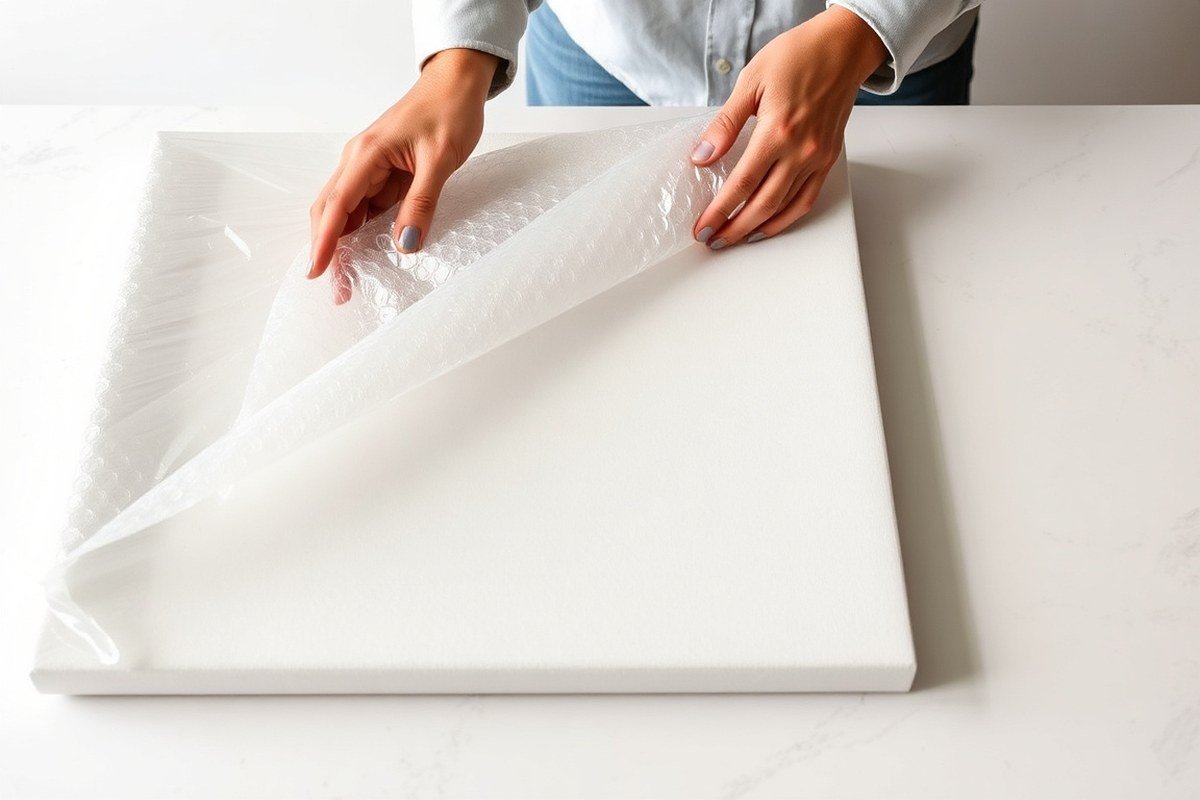
- Cover the canvas surface with a sheet of acid-free tissue paper or glassine. This layer prevents friction or static from damaging the paint, especially useful when using bubble wrap later.
- Wrap the edges using foam wrap to cushion and protect corners, which are vulnerable during transit. Measure and fold the foam neatly around all edges, trimming excess as needed for a snug fit.
- Place the canvas between the two pieces of cardboard you prepared, each at least an inch larger on all sides than the canvas. This shields the surface and edges from punctures or impact.
- Secure the cardboard layers together with painter’s tape, wrapping it around the edges tightly but without pressing on the canvas itself. This holds the whole unit firmly, allowing easy handling while avoiding pressure points.
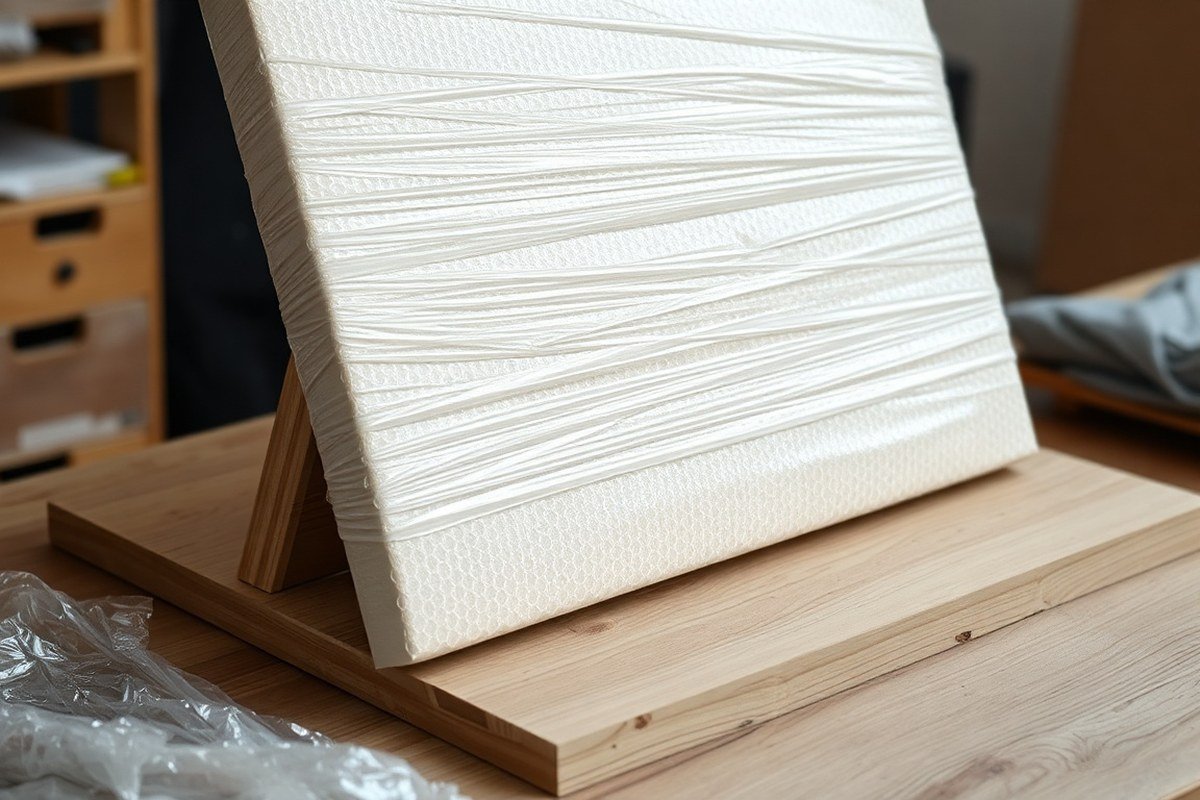
- Wrap the entire bundle in a layer of bubble wrap, ensuring the bubbles face outward away from the artwork. Tape the bubble wrap in place with painter’s tape, keeping it taut but not tight.
This method adds multiple layers of protection: paper to prevent abrasion, foam and cardboard for cushioning, and bubble wrap for shock absorption. It is a cost-effective process requiring minimal materials but careful attention. Properly wrapped art often arrives with edges intact, no surface scuffs, and no signs of moisture damage when stored in a dry environment below 70% humidity.
Choosing the Best Materials to Wrap Canvas Paintings
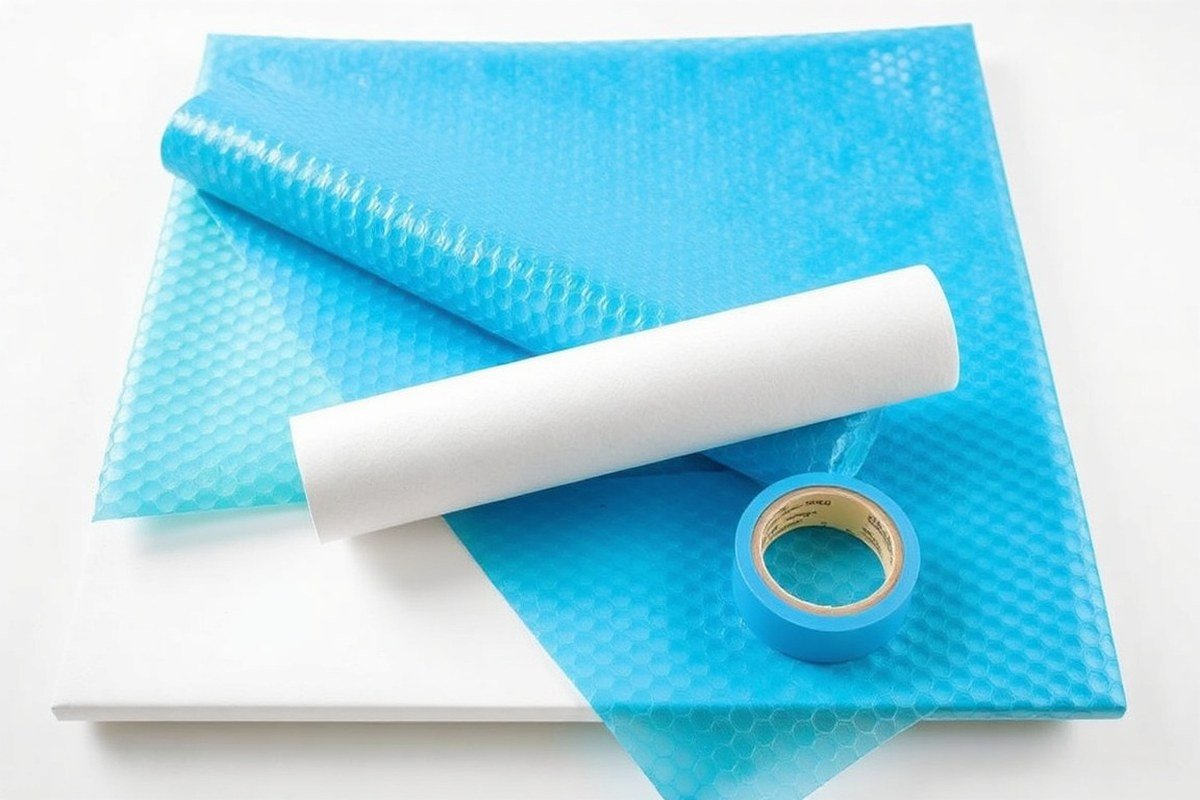
Choosing the best materials for wrapping canvas paintings depends on balancing protection, cost, and the type of artwork. Acid-free paper and glassine sheets serve as excellent first layers directly on the canvas surface because they prevent chemical damage and moisture buildup. These materials are especially important for delicate artworks like watercolors or older canvases, costing around $0.10 to $0.50 per square foot.
For cushioning, Foam wrap provides better shock absorption and protection than bubble wrap due to its denser, softer texture. Foam wrap helps guard edges without compressing the canvas, making it suitable for oil paintings and thick textured canvases. Bubble wrap, while more common and usually cheaper at about $15 to $30 per roll (12″ x 175′), can trap moisture and sometimes produce too much pressure if wrapped tightly. It works best when used over a protective paper layer and for less fragile artworks or quick local transportation.
Cardboard corners and Foam board add rigidity and edge protection. Covering the wrapped canvas with a cardboard outer layer stabilizes the piece during shipping. Foam board, which costs roughly $10 to $20 per sheet, combines lightness with protection and suits flat canvas panels well. For tight budgets, multiple layers of acid-free paper and cardboard may substitute for foam but offer less cushioning.
| Material | Protection Level | Cost Estimate | Best For |
|---|---|---|---|
| Acid-Free Paper / Glassine | Prevents chemical, dust damage | $0.10 – $0.50 / sq ft | All canvases, delicate surfaces |
| Foam Wrap | High cushioning, gentle on edges | $10 – $20 / roll or sheet | Oil paintings, textured canvases |
| Bubble Wrap | Moderate cushioning, widely available | $15 – $30 / roll | Less fragile art, short transport |
| Cardboard Corners & Outer Layer | Edge protection, rigidity | $0.50 – $2 / corner + $1 – $3 / sheet | Most canvas types |
Start by covering the painted surface with acid-free paper or glassine. Add a layer of foam wrap for cushioning, folding cleanly over edges. Secure with painter’s or masking tape, avoiding adhesives on the canvas itself. Finally, protect corners with cardboard inserts and wrap the entire piece with a cardboard sheet or box for shipping. This layered system minimizes risks from moisture, impact, and abrasion during handling and transport.
Protecting Edges and Corners When Wrapping Canvas
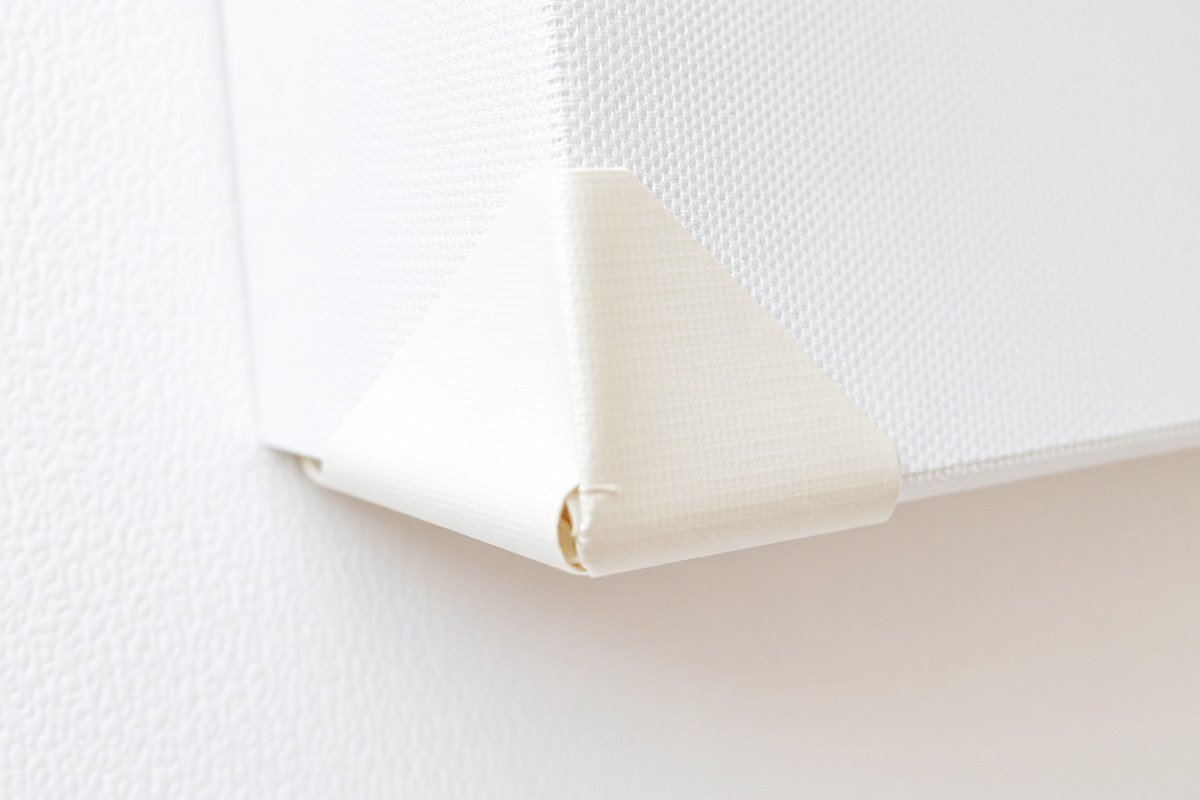
Protecting the edges and corners of canvas art is essential because these areas are the most exposed to dents, punctures, and pressure during wrapping, shipping, or storage. Begin by applying a layer of soft foam or bubble wrap around the edges, folding it over tightly as you would when wrapping a gift. This creates a cushioning barrier that absorbs impact and prevents sharp knocks from damaging the canvas sides or corners. For fragile or large canvases, add extra padding with cardboard corner protectors taped firmly to the bubble wrap. This combination reinforces weakness points and reduces pressure on delicate corners.
When handling framed canvas art, pay extra attention to the corners since both the frame and any glass face can be easily chipped or cracked. Use foam strips around the edges and secure protective corner guards made from thick cardboard or plastic. Tape these guards securely to prevent sliding during transit. If you lack professional corner protectors, improvise using multiple layers of folded cardboard pieces roughly 2 inches wide and 4 inches long, shaped to fit the corner’s angle.
For artists and sellers with limited budget or time, the extra padding around corners need not be expensive or complicated. Simple bubble wrap combined with taped cardboard corners works well and usually costs just a few dollars. Make sure the padding extends at least 1 to 2 inches beyond the edges on all sides and corners for maximum shock absorption. After wrapping, secure the entire package with 2 to 3 layers of tape along edges and corners to keep everything in place. A well-padded edge should feel springy to gentle pressure, not rigid or loose, indicating good protection without compressing the canvas.
Neglecting corner protection can lead to visible dents or punctures, compromising the artwork’s value and requiring costly repairs. Extra attention to these vulnerable points ensures your canvas stays intact and professional looking throughout handling and shipping. Persistent loose wrapping or insufficient padding often causes shifting that results in creases or punctures along the edges, so consistent, tight wrapping combined with strong corner cushioning is the safest approach. For long-term storage, thicker padding and more layers of tape may be necessary, as packing must withstand subtle pressure changes and accidental bumps over time.
Handling Special Canvas Types: Oil Paintings and Framed Art
Oil paintings require a curing period of at least six months to reach full hardness. Wrapping an oil painting too early can cause the paint to smear or adhere to the wrap. Allow the artwork to dry in a clean, ventilated area at room temperature. Once completely cured, shield the surface by wrapping it in glassine paper, which is smooth and nonstick. Keep bubble wrap away from the paint surface, especially if the varnish still feels sticky. Use parchment or brown paper as a barrier between the painting and any cushioning materials.
Handling framed and unframed canvases requires different care. Unframed canvases can be rolled or wrapped flat but need firm support to avoid creases or dents. Sandwich the canvas between two pieces of archival cardboard or foam board, then wrap in paper and cushion with bubble wrap. For framed work, always wrap the frame first with corner protectors or foam to shield edges. Use a layer of glassine or paper on the frame surface, then add bubble wrap, followed by a sturdy outer box or crate if shipping.
This method protects delicate surfaces and fragile frame corners. Small paintings under 24 inches work well inside a cardboard box, but larger or heavier framed pieces may need custom crates for safe handling. Expect to spend more on materials if you have a large collection or valuable original pieces, but the investment lowers damage risk drastically. For best results, never seal wrapping too tightly, allowing slight airflow for cured oil paintings to prevent moisture buildup and sticking issues.
Avoiding Common Wrapping Mistakes That Damage Canvas
One common mistake that often damages canvas art during wrapping is using the wrong tape. Tape that sticks too aggressively, like duct tape or packing tape, can pull at the surface or leave residue. Masking or painter’s tape works best because it adheres well but removes cleanly without harming the wrap or painting. Applying too much tape or pressing it down hard can also deform the canvas or create pressure marks.
Another issue is not keeping the canvas tight and centered inside the wrap. If the canvas moves during transport, the paint or edges can suffer scratches and dents. Wrapping loosely allows shifting, so make sure to secure the canvas with even tension across the surface. When wrapping canvases with glass frames, avoid direct contact between the glass and tape by placing wax paper or clear plastic between them. This precaution prevents glass from cracking or shattering under pressure.
- Choose Masking or painter’s tape to avoid surface damage and residue.
- Do not over-tape or press down tape aggressively to prevent canvas deformation.
- Keep the canvas centered and wrapped tightly to reduce shifting.
- For framed art with glass, use wax paper or clear plastic to separate glass from tape.
- Avoid wrapping in materials that generate static electricity, which attracts dust and can damage the surface, use anti-static wrap if needed.
- Prevent bending or folding, the canvas should stay completely flat and supported to avoid cracks or paint flaking.
Static buildup during wrapping can attract dust or fine debris onto the surface, increasing cleaning risk later. Use anti-static wrapping materials or lightly mist the surface with distilled water to reduce static. The right technique avoids applying uneven pressure, keeping your artwork intact from wrapping through shipment or storage.
Securing Wrapped Canvas Safely for Transport or Storage
Use Painter’s tape or low-tack tape to secure the wrapped canvas, avoiding adhesives that can damage the surface or finish. Start by gently taping the edges of protective layers like paper or plastic sheeting to keep them in place without applying direct tape on the artwork. If you place the wrapped canvas between two cardboard sheets, tape those sheets together along all edges to prevent shifting during transit or storage. This creates a firm outer layer that resists bending or punctures.
After securing the wrapped canvas inside a sturdy, appropriately sized box, use Packing tape to seal all box seams and edges. Apply at least two layers of tape along each open edge, focusing on corners where stress tends to concentrate. Reinforce the center of each side to maintain box integrity under pressure. The goal is to keep the box snug so the canvas has minimal movement but isn’t squeezed tight.
Apply a clear, visible label on the box that reads “Fragile,” “Handle with Care,” and specify “Canvas Art, Do Not Stack” if applicable. Place the label on the top and at least one side of the box to alert handlers. Consider also including your contact information and the destination address in case of lost packages. Some artists add a brief note about the contents to encourage careful handling.
Adding a layer of clear plastic over the wrapped canvas inside the box helps shield the artwork from moisture and dirt during transport or storage. This step is low cost and fast, requiring only a plastic sheet or bag slightly larger than the canvas. Excellent packaging can reduce the 60% damage rate in art shipments caused by poor protection. For valuable or large canvases, hiring professional movers who specialize in art can further lower risks.
When to Call a Professional Art Handler for Wrapping
Recognizing when to use a professional art handler matters for keeping your canvas safe during shipping or storage. Consider expert help when your artwork is large, costly, or has complex frames. Pros use methods like layering foam under a face-down canvas, then wrapping tightly with foam and cardboard to stop damage and add support. Their packaging typically outperforms do-it-yourself solutions in strength, though custom crate building can cost several hundred dollars based on size and materials.
For smaller canvases, wrapping can often be done safely at home using standard supplies. Your canvas under 30 by 40 inches and without a frame can be wrapped by placing it face-down on foam wrap, folding the foam over the edges, then adding cardboard and securing it all with tape. This method protects the surface and edges adequately when combined with careful handling. Large or heavy canvases require more support to avoid warping or punctures, which is why professional help is advised.
The decision rule hinges on size, weight, value, and complexity. When the canvas features fragile oil paint, glass framing, or weighs over 40 pounds, professional packing is a safer choice. Also call a professional if you need to ship interstate or internationally and want insurance coverage, as handlers often offer certified packaging services that meet courier standards.
Good results look like a snug wrap without pressure points, no shifting inside the package, and edges fully cushioned by foam or cardboard. Mistakes such as insufficient padding, stretched canvas, or exposed corners usually occur when non-experts try advanced techniques without proper materials or skill. Always weigh the risk versus cost based on your specific artwork and shipping circumstances.
Step-by-Step Action Plan to Wrap Canvas Art
Follow these steps to wrap your canvas art securely for transport or storage while keeping it safe from damage.
- Before you start: Gather all your wrapping materials like acid-free paper, bubble wrap, corner protectors, and packing tape. Confirm materials are clean and undamaged to ensure effective protection.
- Day 1 – Prepare the canvas: Lay your canvas painting face down on a clean, flat surface covered with acid-free paper. Make sure the canvas is dry and free of dust for better wrapping adherence.
- Day 1 – Protect edges and corners: Attach corner guards suited for canvas corners, then wrap the edges with foam or additional padding. Check that guards fit snugly without compressing the canvas surface.
- Day 1 – Wrap the canvas: Encase the entire canvas in bubble wrap, securing it with painter’s tape or non-adhesive wraps. The bubble wrap should cover all sides with at least 2 inches of padding.
- Day 1 – Add external protection: Cover the wrapped canvas with a layer of plastic sheeting or a protective shipping bag to guard against moisture. Ensure the cover is sealed but allows some air circulation.
- Day 1 – Secure the package: Use packing tape to firmly seal all wrapping layers without applying tape directly on the canvas surface. Test by gently pressing edges to confirm everything stays in place.
- Day 1 – Label the package: Clearly mark the package as “Fragile” and indicate which side is up. This helps handlers keep the canvas in the proper position during transit.
- Before transport or storage: Inspect the wrapped canvas one last time for any loose areas or exposed surfaces. Make adjustments if needed to ensure full coverage and protection.
Frequently Asked Questions
How Do You Prevent Paint Damage When Wrapping Canvas Art?
Wrap your canvas with foam wrap and avoid tight tape pressure to protect the paint surface. Using painter’s tape instead of regular tape helps avoid sticking to the paint or canvas fibers.
Can I Use Plastic Wrap Directly on Canvas Art?
It’s not recommended to wrap canvas art directly with plastic wrap as it can trap moisture. Use acid-free paper or foam wrap as a buffer to prevent paint damage or mold growth.
What Size Frame Should I Use When Stretching Canvas for Wrapping?
Use a frame 1 inch smaller on all sides than the canvas print to allow enough fabric to staple at the back. This creates a tight, secure fit without loose edges.
Why Is Foam Wrap Better Than Bubble Wrap for Wrapping Canvas Edges?
Foam wrap provides softer, more uniform protection for sharp corners and edges without pressure points that bubble wrap’s bubbles might cause. It reduces the risk of dents or punctures during shipping.
Can I Wrap a Framed Canvas Painting the Same Way as an Unframed One?
Wrapping framed canvas requires adding additional protective layers like cardboard or foam sheets over the glass and frame edges to prevent breakage. Unframed canvases mostly need edge and paint surface protection.
Key Points to Remember
Properly wrapping canvas art protects your valuable work from common damage during handling and transit. Taking careful steps to cushion edges, cover the surface, and secure the whole package gives you confidence that your art will arrive or remain safe. Try wrapping a smaller canvas first to practice your technique before moving on to larger or more delicate pieces.